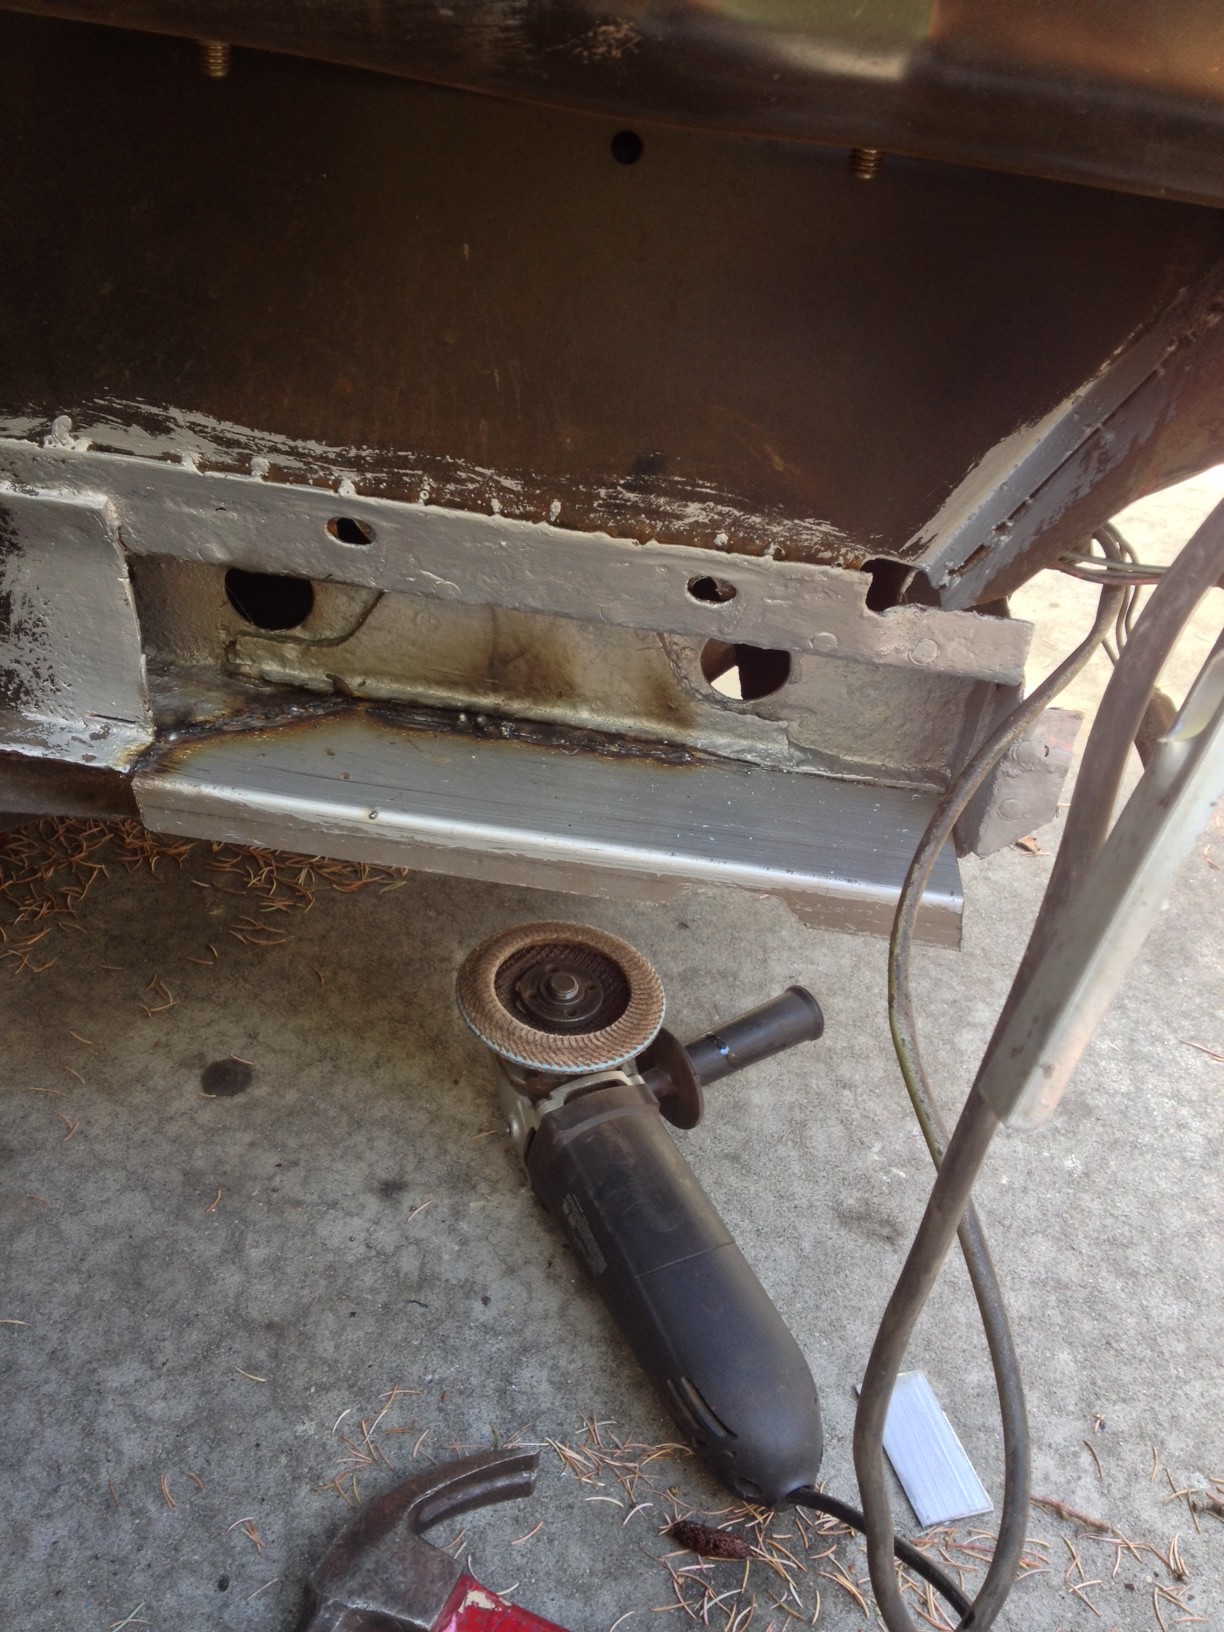
We left off having the bottom section of the frame rail roughly cut and tacked into place.
From here it is a matter of measuring and cutting the patch that contains the bumper capture nuts. This is a relatively straightforward process. Once the desired shape and size is cut, holes are drilled into the flange and the patch is clamped into place.
The holes are used for plug welds to duplicate the factory style spot weld. They are strong, easy to do and are hardly noticeable once ground down.
After filling the holes and gaps with weld, we are left with this. It takes a bit of massaging from a hammer to create the contours around the front, but the patch was a relatively easy fix.
Since we had cut into the front cross member, we needed to replicate the lip that would have been welded under the frame rail.
Like the frame rail patch, holes were drilled for for plug welds then burned in. Any gaps were also filled with more weld and ground smooth. With the exception of a missing drain hole on the bottom, one could never tell a repair was done here after final grinding and a coat of paint.


Nice post!